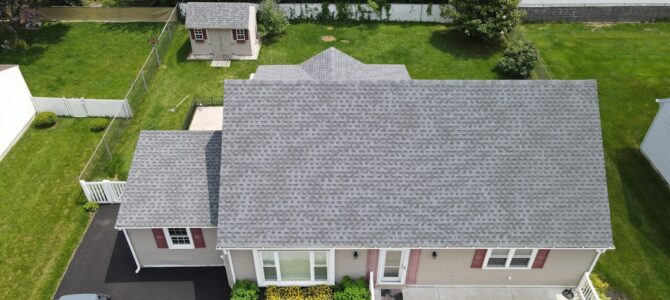
Building Code Study: Top 5 Roofing Installation Errors Found in Connecticut Homes
Your roof is your home’s first line of defense, but is it secretly hiding costly, code-violating mistakes? For many Connecticut homeowners, the answer is a resounding yes. A new roof is one of the most significant investments you can make in your property. Unfortunately, common installation shortcuts and a widespread lack of code knowledge can lead to premature failure, expensive water damage, and instantly voided manufacturer warranties.
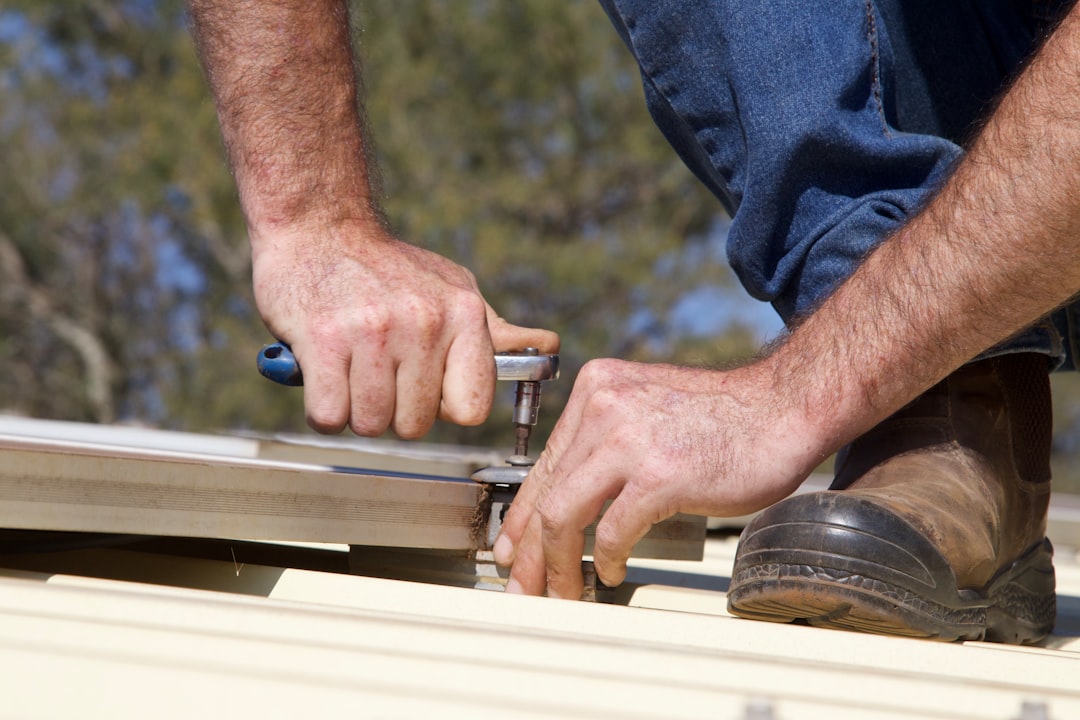
At novaprojects.org, we are dedicated to advancing building science and promoting higher standards in construction. As part of our mission, we conducted a study of recent roofing projects across the state to identify the most prevalent and damaging installation errors. This post shares our findings to empower you, the homeowner, with the high-value expertise needed to protect your investment. We’ll break down the top 5 roofing installation errors found in Connecticut homes, explain why they violate building codes, and show you what a correct installation looks like.
Key Takeaways
- Improper Nailing: The #1 cause of shingle blow-off is incorrect nail placement and depth, a clear violation of manufacturer and code requirements.
- Missing Drip Edge: Failure to install a metal drip edge allows water to rot the underlying wood structure of your roof, including the decking and fascia.
- Faulty Flashing: Incorrectly installed flashing around chimneys, valleys, and walls is a primary entry point for major, destructive leaks.
- Poor Ventilation: An unbalanced attic ventilation system—a key part of the roofing system—can cause ice dams, mold, and premature roof failure.
- Illegal Layers: Adding a new roof over more than one existing layer is often against Connecticut building code and can hide serious structural issues.
TL;DR
Our study of Connecticut homes reveals that many roofing installations suffer from critical, code-violating errors. The most common mistakes are improper shingle nailing, missing drip edges, faulty flashing, poor attic ventilation, and illegally layering new shingles over old ones. These errors lead to leaks, rot, and premature roof failure, highlighting the need for homeowners to understand proper installation practices.
Why This Building Code Study on Connecticut Roofing Matters
Many homeowners view building codes as bureaucratic red tape, but this perspective misses the fundamental purpose of these regulations. Understanding the “why” behind the code is the first step toward ensuring a safe and durable home.
The Role of the Connecticut State Building Code (CSBC)
The CSBC, which is based on the International Residential Code (IRC), isn’t just a suggestion—it’s a set of minimum safety and durability standards designed to protect your property and your family. For roofing, these codes are specifically engineered to address the challenges of our New England climate, from heavy snow loads and ice dams to the wind uplift forces of a powerful Nor’easter. A code-compliant roof isn’t just “passing inspection”; it’s a safe, resilient, and long-lasting roof.
Beyond the Shingles: A Roof Is a System
A common misconception is that a roof is just the shingles you see from the street. In reality, a high-performance roof is a complex system of interconnected components: the wooden deck, the underlayment, the ice and water shield, the flashing, the shingles, and the ventilation. As our study found, an error in one part of the installation can trigger a catastrophic failure in the entire system. A perfectly shingled roof with poor ventilation will fail just as surely as a poorly nailed one.
Connecting Code to Your Wallet
The financial stakes are enormous. A non-compliant installation can have devastating financial consequences that go far beyond the initial cost of the roof. If your roof fails during a storm and an investigation reveals it wasn’t installed to code, your homeowner’s insurance claim could be denied. Furthermore, every shingle manufacturer’s warranty is explicitly contingent on the product being installed according to their instructions—instructions which are themselves aligned with building codes. An improper installation instantly voids that 30- or 50-year warranty, leaving you with no recourse. Understanding these top errors is crucial for your financial protection.
The Top 5 Roofing Installation Errors We Found in Connecticut Homes
Our field analysis identified five recurring, high-impact errors. These issues were not isolated incidents but a pattern of shortcuts and misunderstandings that put Connecticut homes at risk.
Error #1: Improper Nailing
This is, without a doubt, the most common and critical error we observed. The performance of an asphalt shingle is almost entirely dependent on how it is fastened to the roof deck.
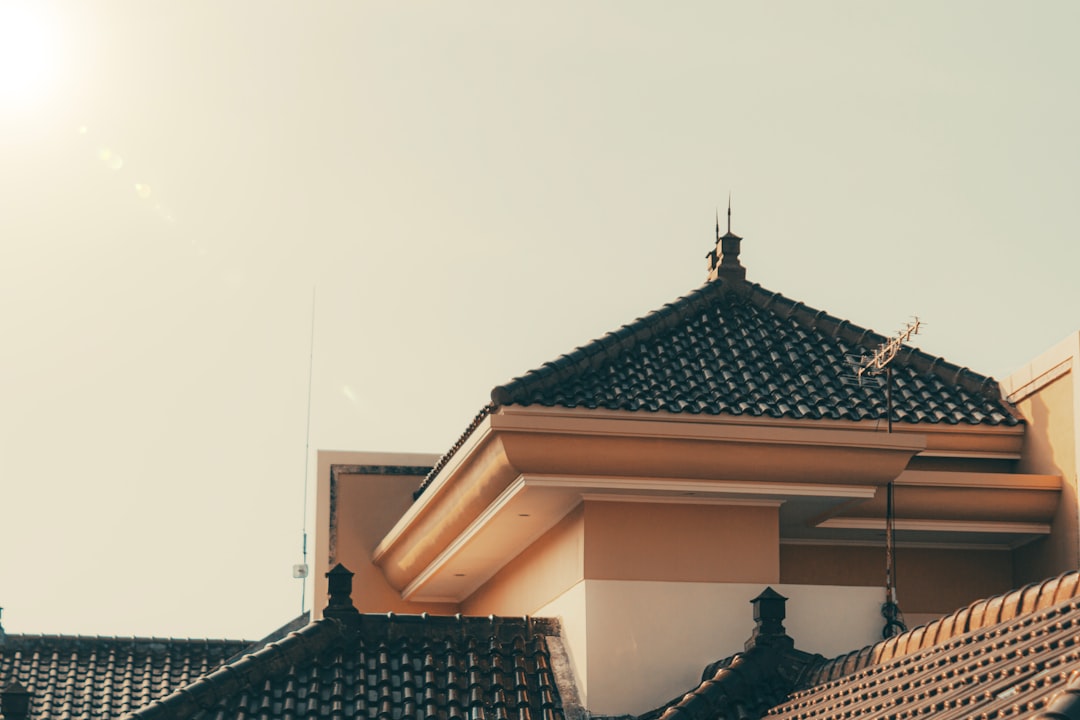
- What It Is: This error includes several distinct mistakes:
- Over-driven nails: The nail gun pressure is too high, and the nail head cuts through the shingle’s top layer, fracturing the fiberglass mat.
- Under-driven nails: The nail is left sitting proud of the shingle surface, which prevents the shingle above it from sealing down and can eventually wear a hole through it.
- Angled nails: The nail is driven in at an angle, cutting the shingle with one side of the nail head and leaving the other side raised.
- Incorrect placement: Nails are placed above or below the manufacturer’s designated nailing strip, completely missing the “common bond” area that secures both layers of the shingle.
- Why It’s a Code Violation: The CSBC, by referencing manufacturer installation guides, makes these nailing requirements mandatory. Manufacturers spend millions on research to determine the precise location and depth needed to meet the shingle’s wind-resistance rating. Deviating from this voids the rating and violates the code.
- The Real-World Consequence: This is the leading cause of shingles blowing off during a storm. A single over-driven nail compromises the shingle’s integrity, making it easy for wind to lift, tear, and remove it. This creates an immediate pathway for water intrusion and, as mentioned, instantly voids your warranty. A contractor who doesn’t understand this fundamental step is a major liability, a topic further explored in our roofing contractor hiring guide.
- The Right Way: A correctly driven nail should be perfectly flush with the shingle surface, applying firm pressure without breaking the material. It must be placed directly on the painted nailing line, and the correct number of nails (typically four, but six in high-wind areas) must be used for every shingle.
Error #2: Inadequate or Missing Drip Edge
This seemingly small detail has an outsized impact on the long-term health of your roof’s structure. It’s an inexpensive component that lazy or cheap contractors often skip.
- What It Is: The drip edge is an L-shaped piece of metal (usually aluminum) installed at the roof’s perimeter—the eaves (bottom edges) and rakes (sloped side edges). The error is either omitting it entirely or installing it incorrectly, such as placing it on top of the underlayment at the eaves.
- Why It’s a Code Violation: Section R905.2.8.5 of the IRC, on which the CSBC is based, explicitly mandates the installation of a drip edge at eaves and gables for asphalt shingle roofs.
- The Real-World Consequence: Without a drip edge, the principle of water tension (capillary action) causes rain to cling to the edge of the shingle and wick backward onto the wooden components underneath. This constant moisture saturation leads to the slow, insidious rot of the fascia board and the roof decking itself. This decay not only weakens the structure but also attracts pests like carpenter ants and termites.
- The Right Way: Proper installation sequencing is critical. At the eaves, the drip edge must be installed directly on the wood decking before the ice and water shield. This ensures any water that gets under the membrane is directed away from the fascia. At the rakes, the drip edge is installed on top of the underlayment to protect the edge of the plywood from wind-driven rain.
Error #3: Incorrect Flashing Installation
Flashing is the system that waterproofs the most vulnerable parts of your roof: where it meets a wall, a chimney, a skylight, or where two roof planes join in a valley. This is where craftsmanship truly matters, and where shortcuts cause the most damage.
- What It Is: The cardinal sin of flashing is relying on roofing cement (tar) or caulk as a primary water barrier instead of a properly integrated metal flashing system. We frequently see chimneys with gobs of black tar smeared at the base, a temporary fix that is guaranteed to fail.
- Why It’s a Code Violation: The building code requires durable, interwoven metal flashing systems designed to mechanically shed water. Relying on a sealant like tar, which becomes brittle and cracks under UV exposure and temperature changes, is not a permanent, code-compliant solution.
- The Real-World Consequence: Flashing failures are responsible for the most destructive and hard-to-trace leaks in a home. A leak at a chimney can run down a stud inside a wall, causing hidden mold, rotting the framing, and damaging insulation and drywall, often long before a stain appears on your ceiling.
- The Right Way: A proper flashing system uses multiple layers. For a wall, this involves “step flashing”—individual pieces of metal woven into each course of shingles and turned up the wall. For a chimney, this is combined with “counter-flashing,” a second layer of metal that is cut into the mortar joints of the masonry and folded down over the step flashing, creating a durable, two-part mechanical barrier.
Error #4: Insufficient or Unbalanced Attic Ventilation
A roof must breathe. Many contractors treat the job as finished once the shingles are on, completely ignoring the critical role of attic ventilation.
- What It Is: This error involves failing to create a balanced system of air intake and exhaust. Common mistakes include having blocked soffit vents (intake), not enough ridge or box vents (exhaust), or mixing different types of exhaust vents (like a ridge vent and a power fan), which can short-circuit the airflow.
- Why It’s a Code Violation: The code mandates a minimum ventilation ratio, typically 1 square foot of net free vent area for every 300 square feet of attic floor space, balanced evenly between intake and exhaust. This is required to control temperature and moisture within the building envelope.
- The Real-World Consequence: An improperly ventilated attic is a disaster in both winter and summer.
- In Winter: Warm, moist air from inside your home rises into the attic. Without adequate ventilation to flush it out, it condenses on the cold underside of the roof deck. This leads to mold growth, rotted wood, and the formation of destructive ice dams at the eaves.
- In Summer: The sun beats down on the roof, and without ventilation, the attic can reach temperatures of 150°F or more. This extreme heat literally cooks the shingles from below, drastically shortening their lifespan, while also radiating down into your living space and driving up air conditioning costs.
- The Right Way: The most effective and recommended strategy is a balanced, passive system. Cool, dry air enters through continuous soffit vents at the lowest point of the roof (intake), and hot, moist air naturally rises and exits through a continuous ridge vent at the peak (exhaust). This creates a constant, gentle flow that keeps the attic dry and closer to the ambient outdoor temperature.
Error #5: Re-roofing Over Too Many Layers
Often sold as a cheaper, quicker option, a “layover” or “recover” job involves installing new shingles directly on top of the old ones. This practice is not only risky but often illegal.
- What It Is: This is the practice of adding a new layer of asphalt shingles over one or more existing layers without first removing the old roofing material.
- Why It’s a Code Violation: The Connecticut State Building Code generally prohibits the installation of a new roof over two or more existing layers of roofing. In some municipalities, only one layer is permitted in total. A second layer is sometimes allowed, but never a third.
- The Real-World Consequence: The problems are twofold. First, the excess weight can stress the home’s structure, especially in older homes not built to modern standards. Combined with a heavy snow load, this extra weight can become a serious structural concern. More importantly, this practice makes it impossible for the contractor to inspect the wooden roof deck for rot, soft spots, or other damage. You are essentially covering up a potentially catastrophic problem, trapping moisture and decay beneath the new roof.
- The Right Way: The only professional and correct method is a full “tear-off.” All old roofing materials are removed down to the wooden sheathing. This allows for a thorough inspection and replacement of any damaged decking, ensuring the new roofing system is being installed on a solid, sound substrate. This is the only way to get a valid, long-term manufacturer’s warranty.
How to Protect Your Home: A Homeowner’s Checklist
Knowledge is your best defense against a poor installation. Before you sign a contract, use this checklist to vet your potential contractor.
- Demand a Detailed Scope of Work: Your contract should be a blueprint for the project. It must explicitly mention a full tear-off, replacement of all flashing, installation of a drip edge, installation of an ice and water shield, and specifics about the ventilation plan. Vague contracts are a major red flag.
- Verify Connecticut Licensing and Insurance: Always check a contractor’s Home Improvement Contractor (HIC) license on the state’s official e-license portal. Ask for a current certificate of insurance showing both general liability and worker’s compensation coverage to protect yourself from liability.
- Discuss Code Compliance and Permits: Ask the contractor directly: “Will you be pulling a permit for this job, and will the final installation meet all requirements of the Connecticut State Building Code?” A professional contractor will always pull a permit, as it ensures their work is inspected and verified by a third party.
- Ask About Manufacturer Certification: Top-tier contractors are often certified by the shingle manufacturer (e.g., GAF Master Elite, Owens Corning Platinum Preferred). These contractors receive factory training on proper installation techniques and can often offer enhanced, more comprehensive warranties. The expertise of such authors and professionals is invaluable.
Building a More Resilient Connecticut, One Roof at a Time
A properly installed roof is a meticulously assembled system, not just a cosmetic layer of shingles. The common, code-violating installation errors found in our Connecticut homes study—from improper nailing to ignoring ventilation—are entirely avoidable with proper knowledge, attention to detail, and a commitment to craftsmanship. These aren’t minor issues; they are fundamental flaws that undermine the safety, durability, and value of your home.
Your home deserves more than the bare minimum. At novaprojects.org, we believe an educated homeowner is an empowered one. By understanding these critical details of a proper roofing installation, you can ask the right questions, demand quality work, and ensure your project is done right the first time. Protecting your most significant investment starts with demanding adherence to the proven principles of building science.
Don’t leave the integrity of your home to chance. Explore our full library of posts and pages at novaprojects.org to learn more about building science best practices and how to ensure quality and safety in your next home project.